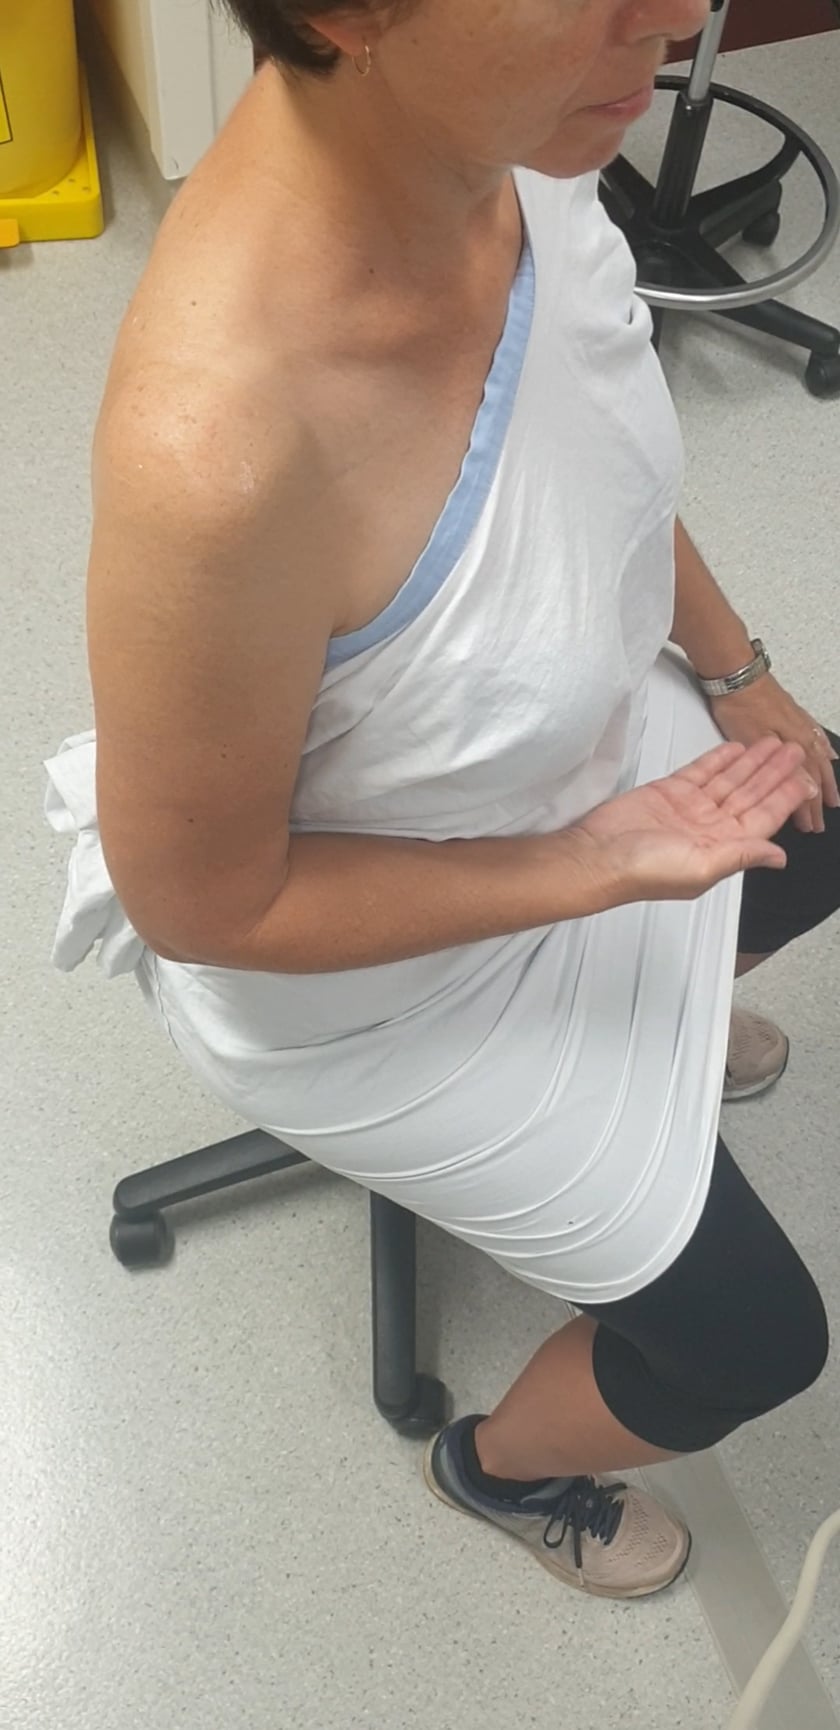
to stretch the supraspinatus tendon:
firstly you need to stretch the tendon out from beneath the acromion. to do this we must externally rotate and push the humeral head forwards.
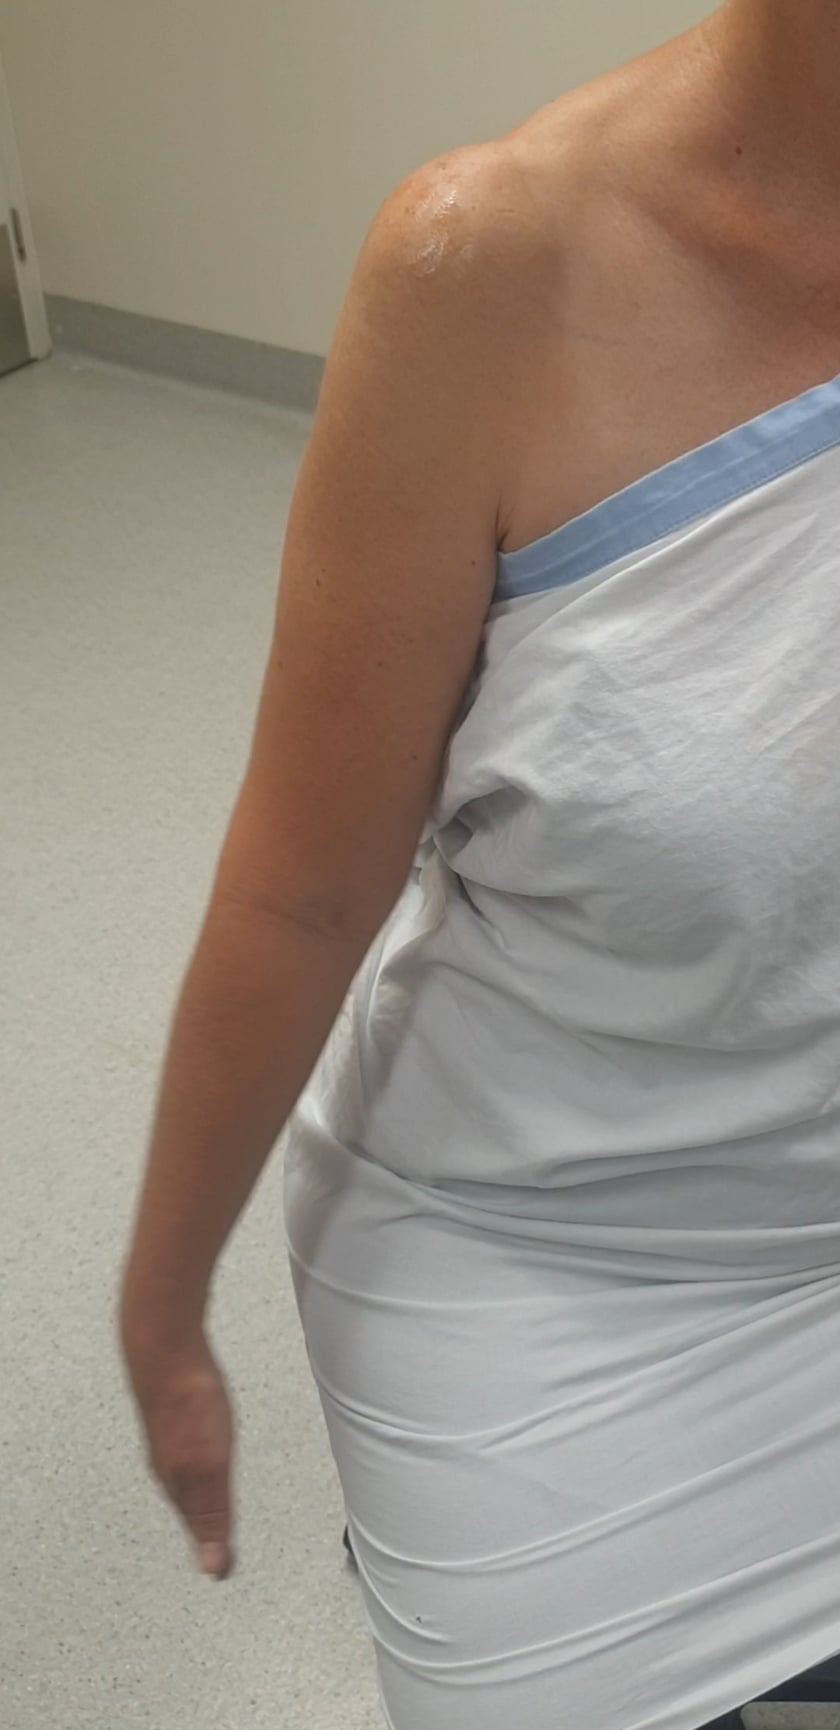
position 1. ask the patient to turn their palm up and pull their elbow back (modified crass)
or/and
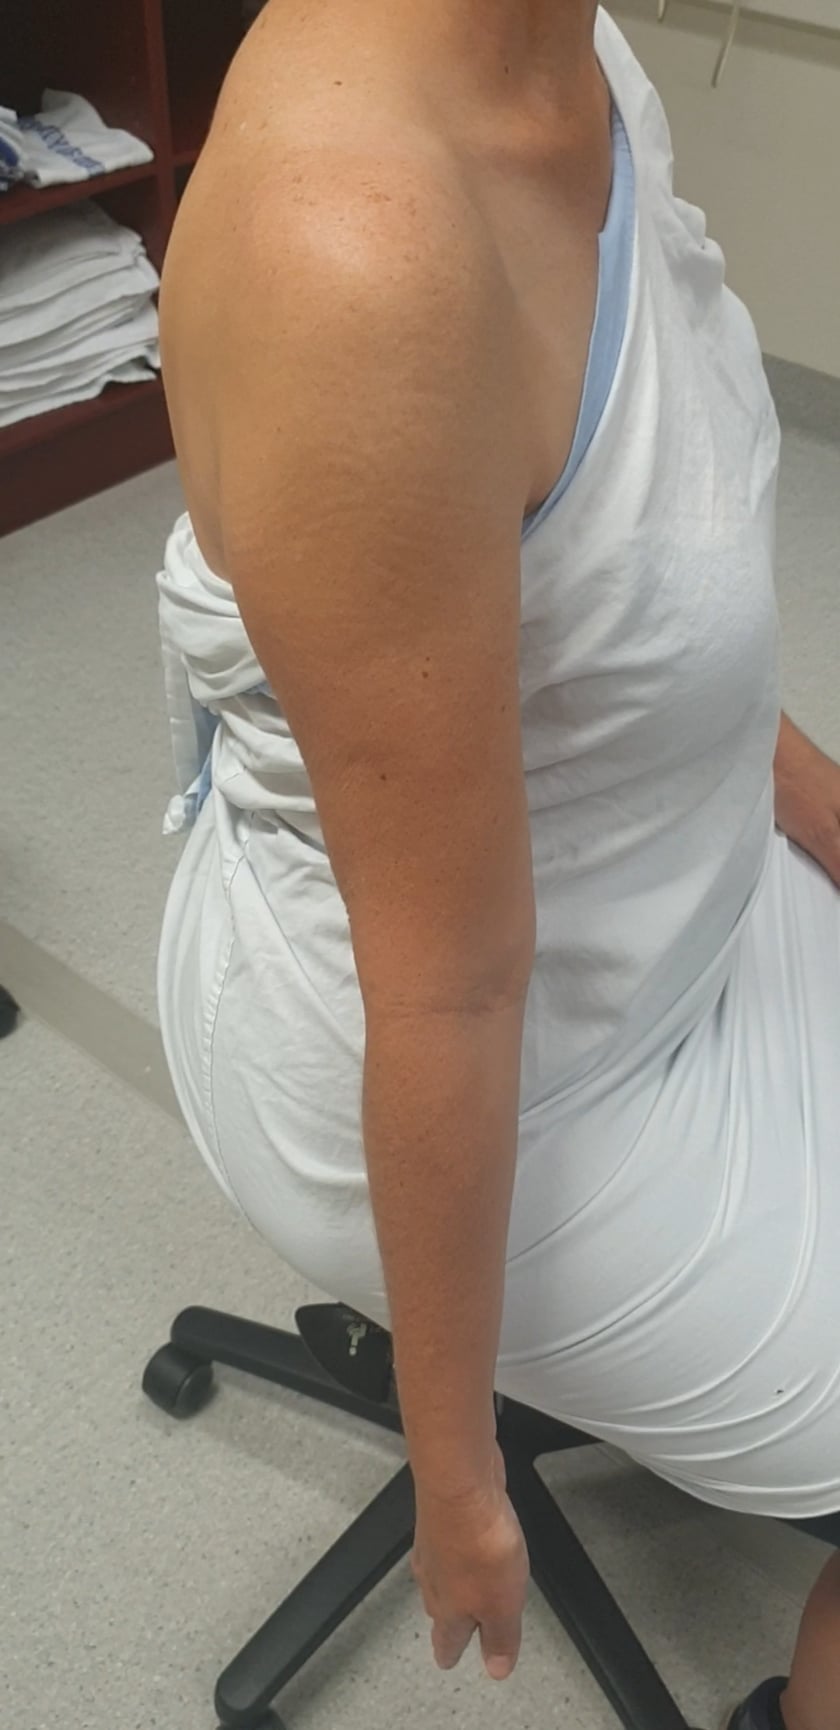
position 2. ask the patient to place the back of their hand against their lower back (crass position)


tip: if you only use position 2, you may have difficulty clearly visualising the anterior aspect of supraspinatus tendon because of the degree of internal rotation. this position is also more difficult for the patient.
to identify the supraspinatus:
transverse
- begin with a transverse biceps tendon on the medial edge of your image.
- slide the probe up and over the humeral head.
- the supraspinatus will come into view (if it is present).
- the probe will be directed down towards the floor.
- examine anteriorly-posteriorly by sliding the probe.
longitudinal
- from the transverse view, rotate the probe 90degrees so the marker end is pointed towards the acromion.
- sweep the probe around the humeral head. anteriorly until you see the biceps tendon and posteriorly until you see the hypoechoic change of infraspinatus anisotrphy.
- ensure you rock (heel/toe) the transducer to view from insertion to musculo-tendinous junction.
tip:always keep the humeral head echo crisp. if it is blurry, you will not be perpendicular to the tendon)
once you identify the supraspinatus tendon:
- is it fibrillar
- is there fluid/calcification?
- is the contour flattened?
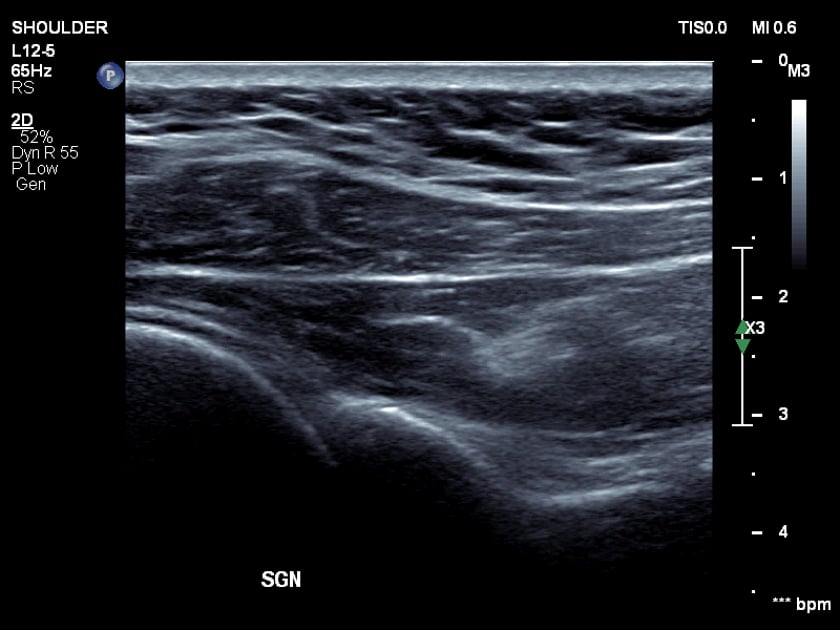
normal appearance:
- longitudinal: echogenic and fibrillar. convex contour.
- the supraspinatus tendon will become hypoechoic posteriorly related to the merging infraspinatus fibres
- the overlying sub-acromial bursa (sab) should be uniform and very thin (less than 2mm).
tip: a thin bursa may still be adherent and symptomatically impinge so should be observed dynamically.