ten steps in imaging heart
1st step: check the heart is beating. m-mode heart rate – should be between 120 and 180 beats per minute
2nd step: situs- check which is the left side of fetus then do a dual image in a tranverse axial plane of the fetus with firstly the thorax showing the heart apex orientated to the left at an angle of approximately 45degrees. the transverse section should only contain 1 rib. the second image showing the stomach on the left ensuring the left and right side is labelled.
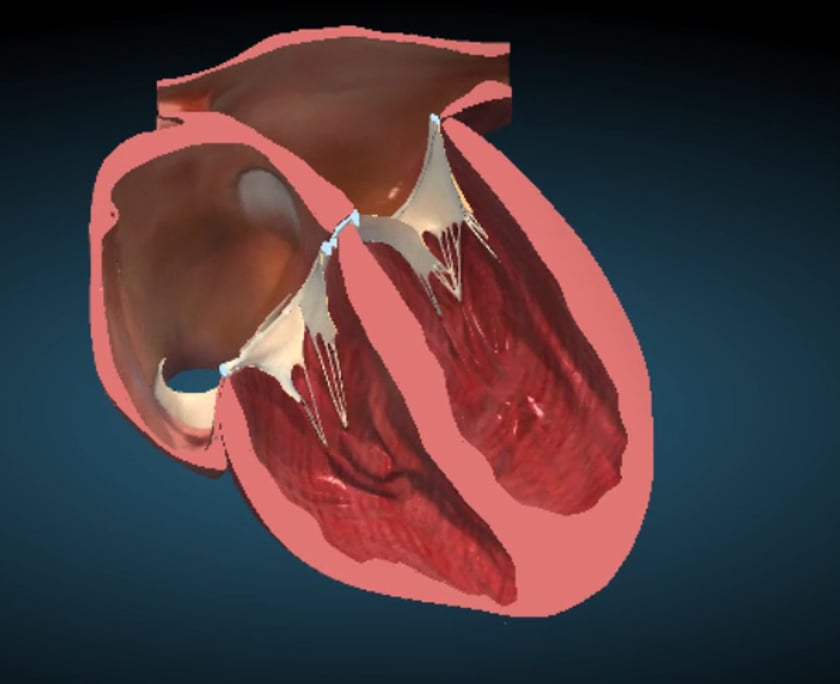
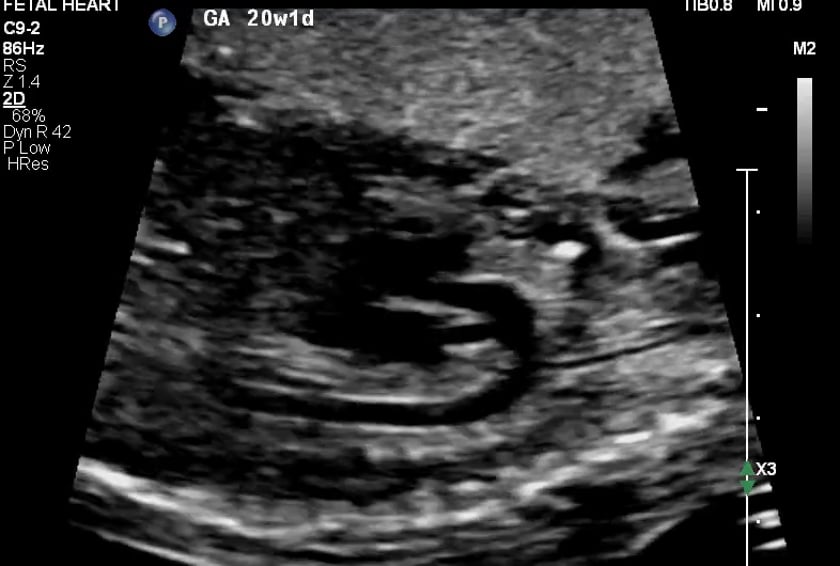
3rd step: four chamber view- angling cephalad from a transverse axial view of the abdomen.
the heart should occupy approximately 1/3 of the chest.the ventricles should be of similar size and the atria should be of similar size. the moderator band is in the right ventricle. the left ventricle extends more apically.
assess the av valves (atrioventricular) ie the tricuspid valve on the right is more apical than the mitral (on the left)valve insertion onto the interventricular septum. (the “offset cross” appearance)
watch ,in real time, the opening and closing of the valves in systole and diastole.
the pulmonary venous connections can be identified.
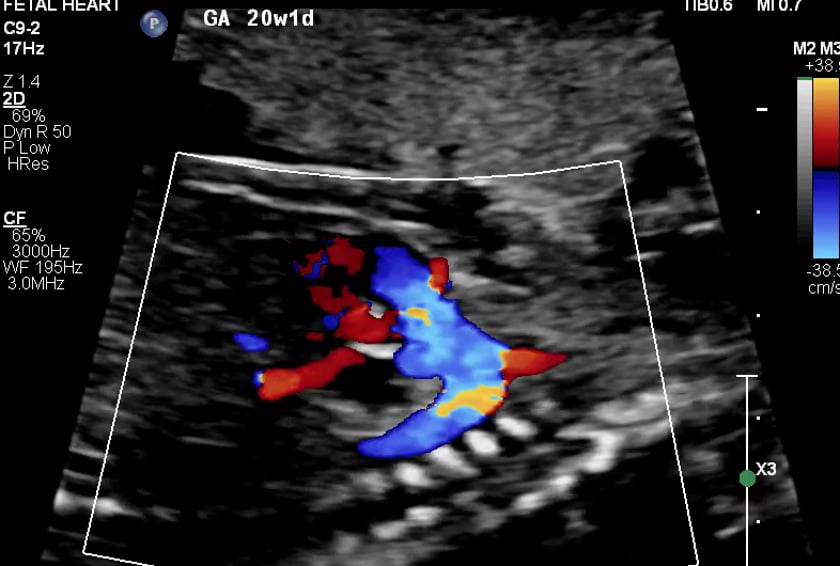
4th step: lvot
from the 4chamber view, angle further cephalad to see the left ventricle and the aorta (left outflow tract) in the same view.
the aorta will be coursing to the right posterior direction.it should be assessed in colour doppler also looking for any stenosis.
5th step: rvot from the lvot view, the probe is angled further towards the head and slightly towards the fetal left shoulder.
this show the pulmonary trunk heading directly posteriorly towards the spine. it will divide into the pulmonary arteries.
image and look in bmode and colour doppler.
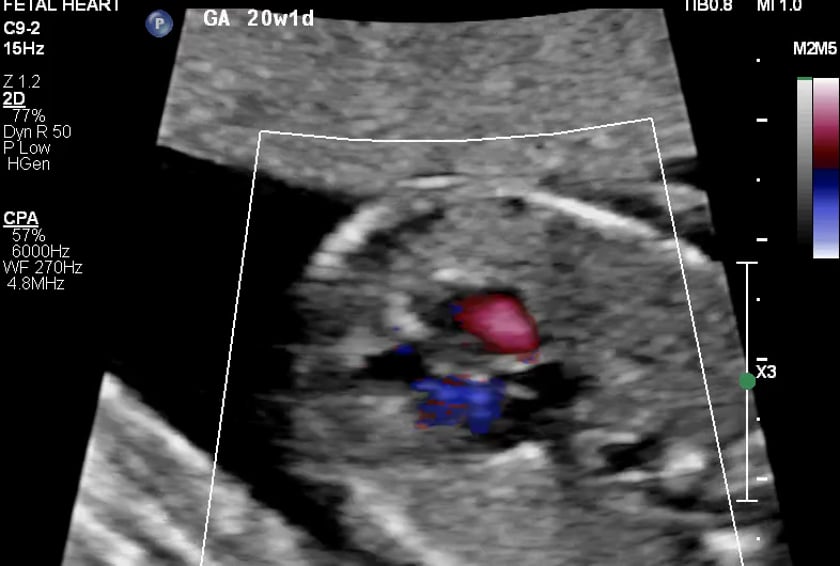
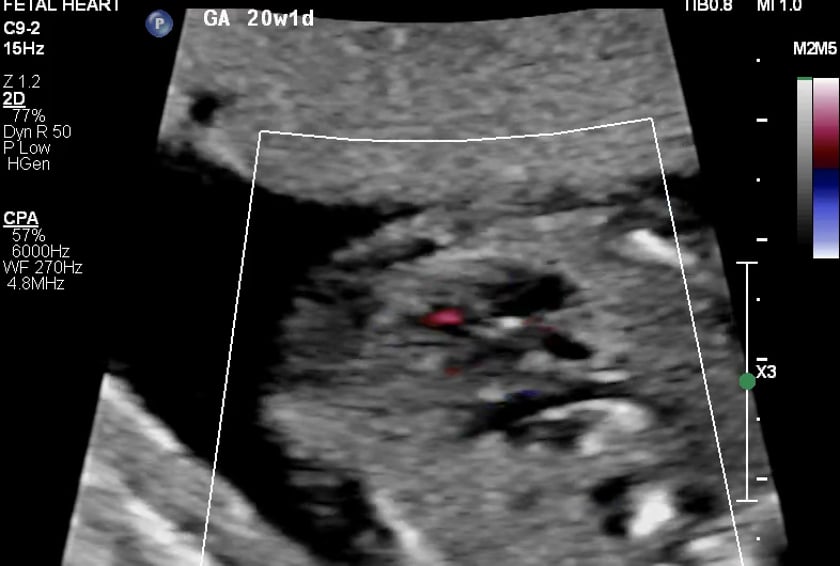
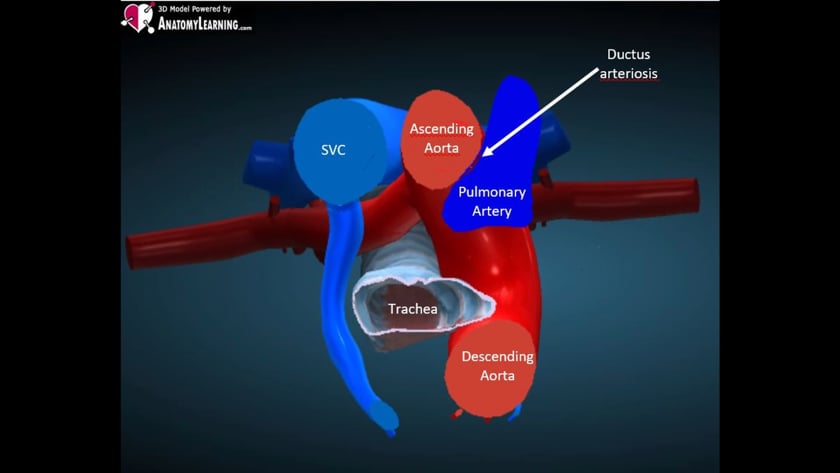
6th step: 3 vessel view this view is a slightly oblique, axial view.
it cuts the upper part of the arches and transversally the superior vena cava.
this is an image with
a full length view of the pulmonary artery (p) which arises from the right ventricle.
a cross section of the ascending aorta (a)
the superior vena cava (v) or (s)
it is commonly labelled pav or pas on the image.
it is important to have the 3 vessels in line with each other in order of largest (p) to smallest (v).
the aorta and pulmonary artery must be perpendicular to each other, otherwise there is a serious heart defect such as transposition of the great vessels.
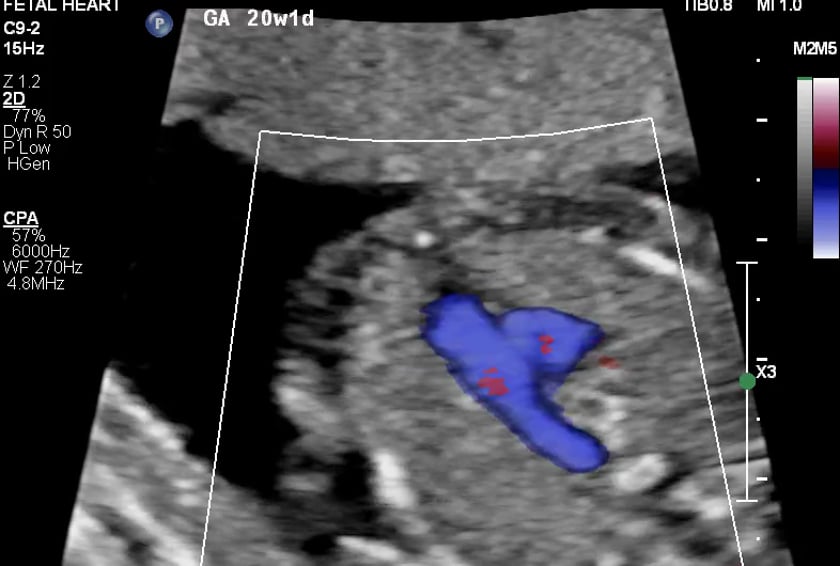
7th step : arrowhead
the pulmonary artery and the transverse aorta will merge posteriorly and should be an acute angle not curved/rounded.
8th step: interventricular septum
ivs (inter-ventricular septum):
should be assessed when the foetus is in a decubitus position so the ultrasound beam is perpendicular to the septum.
this will avoid anisotropy and a false positve for septal defect.
it should be assessed in both bmode and colour doppler.
9th step: aortic arch
the ‘arches’ are best assessed when the foetus is prone.
aortic arch: turn the probe 90degrees to a para-sagittal plane on the foetus.
the aortic arch arises from the centre of the heart and is commonly referred to as a “cane”.
coarctations may be visualised in this view.
10th step: ductal arch
this is the ductus arteriosis: the junction between the pulmonary trunk and the aorta.
utilise a similar scan plane to the aortic arch.
the ductal arch is referred to as a “hockey stick” appearance, with the arch arising from the anterior of the heart. bmode and colour assessment.